How to create a safe lockout/tagout program
The following steps will help you create and complete a lockout/tagout program in the safest way possible.
Step 1. Create detailed lockout procedures
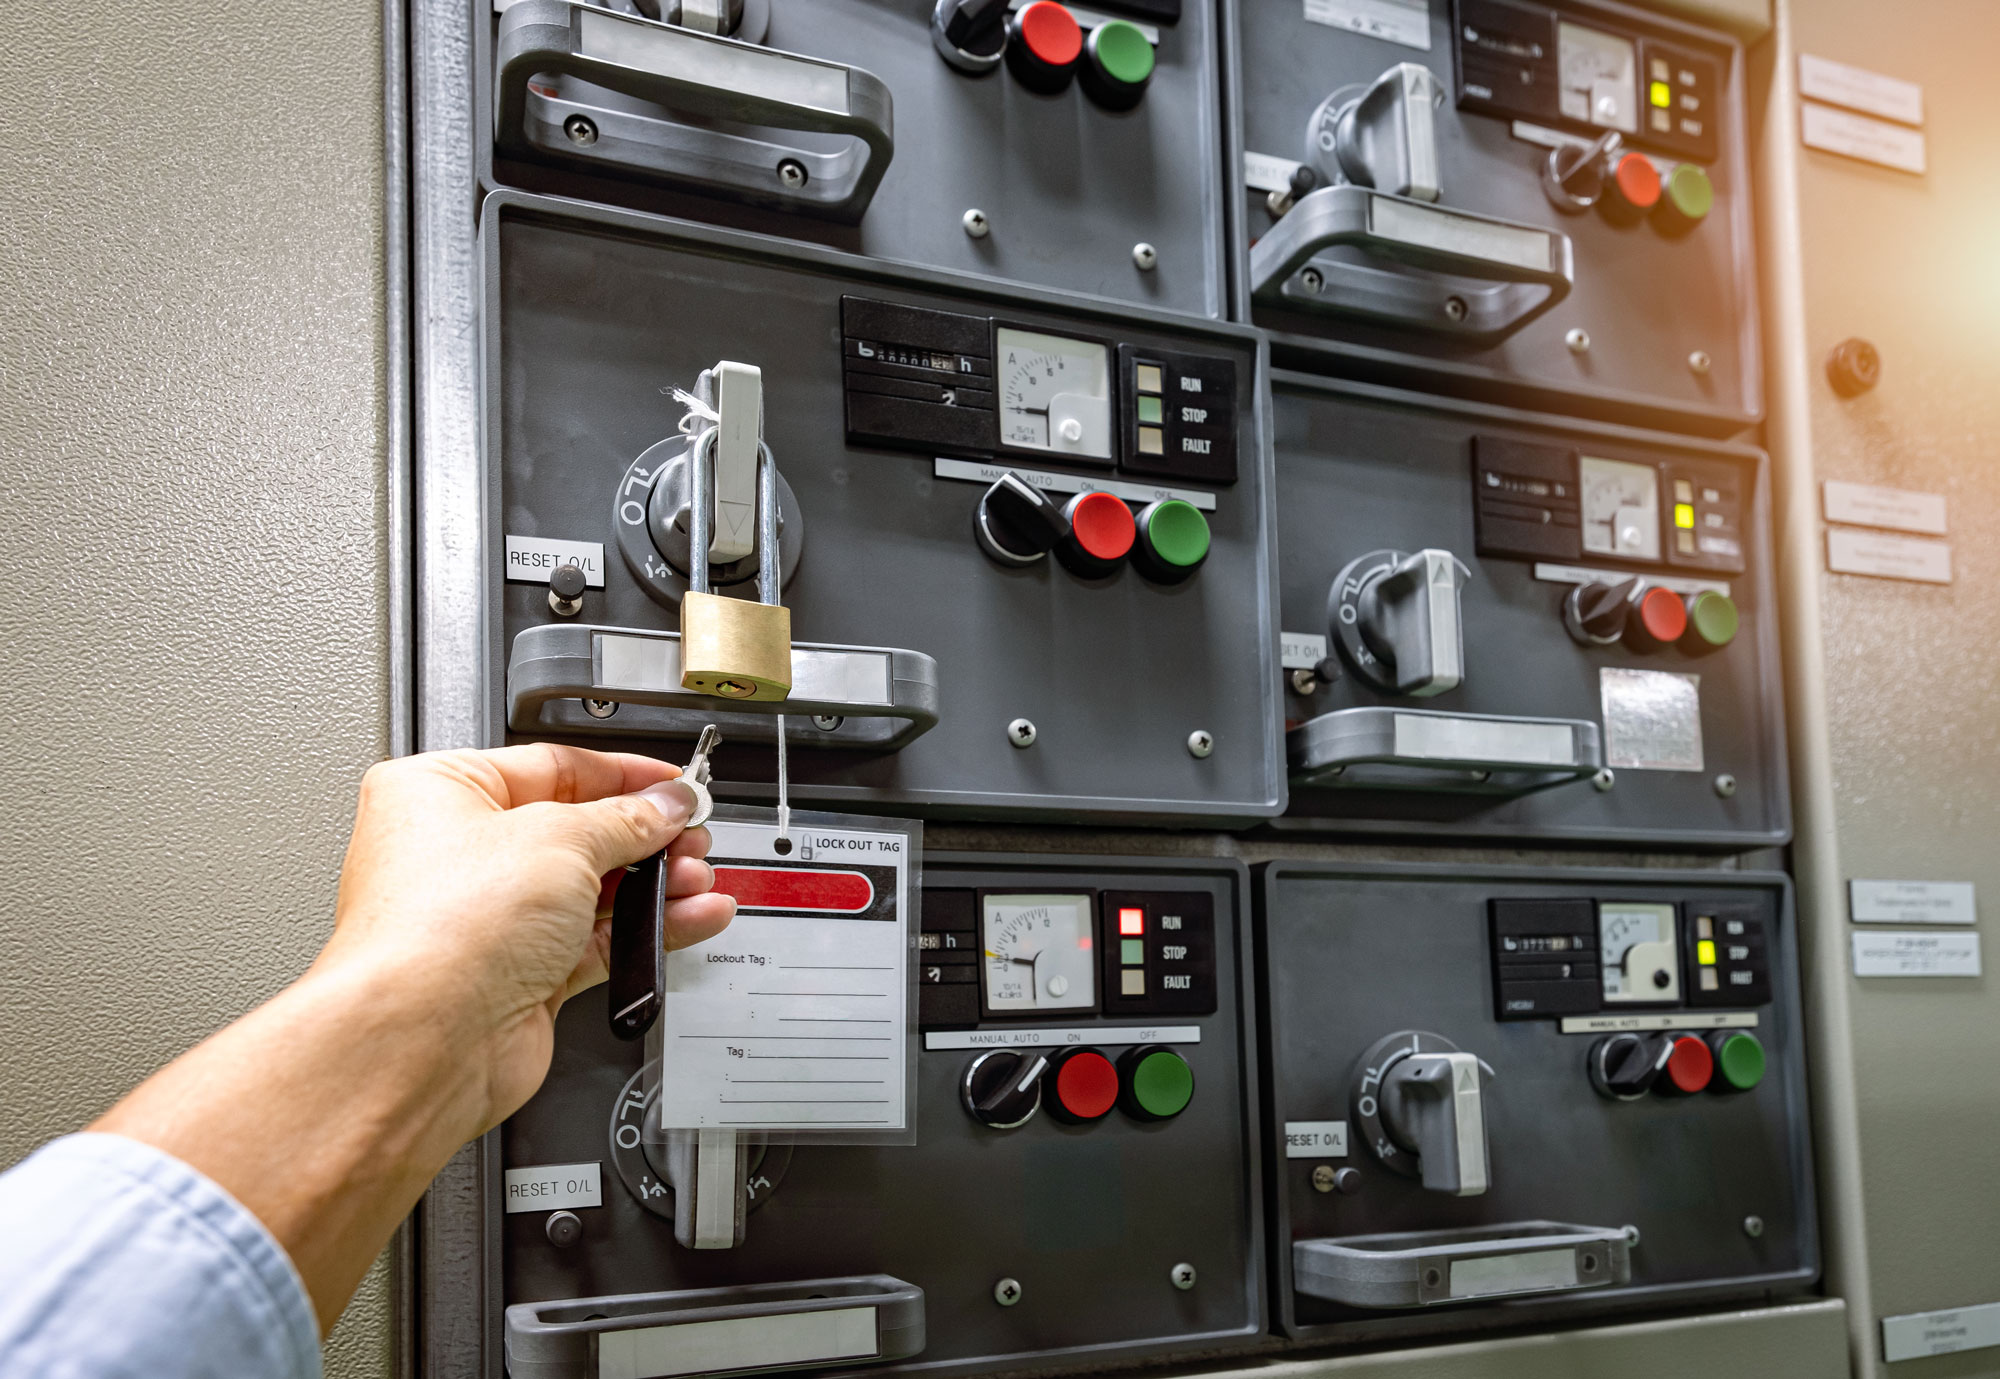
Identify the equipment to be locked out and its location. Take a picture to help employees identify it, as well. Determine the correct procedure for shutting the machine down and starting it back up, and put the procedure into a list format. Include pictures of each step, along with the energy source, such as electricity or pressurized air.
Also address secondary energy sources such as heat, fumes, or tension and hazards that may need to be moved or tied down. Be sure to include the device used to lock out the energy and the method used to verify its lockout in this step. This procedure should also include how to bring the machine back online in the same step-by-step process and include exactly how each step should be performed in the safest way possible.
Step 2. Make procedures easy to access
Use binders, document management systems, or lockout/tagout-specific platforms that make these procedures readily available for employees and management. This helps streamline the process and keeps everyone on the same page. We recommend a lockout/tagout-specific platform, as this is the most efficient and, potentially, most cost-effective way to manage the procedures.
Step 3. Notify affected employees
All employees who will be performing this procedure must be notified of the new process. Post signs to ensure employees are aware of the machine being locked down, how long it will be down for, and any processes that must be performed differently while the machine is locked down.
Step 4. Follow the detailed procedure
To prevent potential injuries or damage, it’s crucial for the employees responsible for completing the procedure to not only understand it but also be able to follow it exactly. As part of this step, the employees must also verify the lockout by attempting to start it or another method. Once the lockout has been verified, they must attach a lockout or tagout device to the machine to be sure no one will attempt to start the machine while it’s being worked on.
Step 5. Train on the importance of respecting locked and tagged machinery
A lockout/tagout program is only as good as the training used to teach it. If you haven’t at this point, be sure all employees understand that voiding a lock or tag and attempting to start a machine could cause loss of life or limb to another employee.
Step 6. Swap correctly during shift changes
If a shift change occurs while a machine is down, the individuals who are swapping personal lock or tag devices should both be present to make the switch. Notify any employees who are also part of the shift change and who weren’t originally notified of the device being down. It’s highly advisable to have a sign-off that employees trading shifts must fill out to make the switch.
Step 7. Bring equipment back online
Once the maintenance task on the machine has been completed, it’s imperative to meticulously adhere to the procedure in order to successfully restore the machine and bring it back online.
Step 8. Review and audit procedures regularly
A lockout/tagout program isn’t something you can set and forget. In order to keep employees safe, you need to keep procedures up to date. Be sure they reflect any changes to the machinery, the devices, or methods that take place. This is also a suitable time to see if there’s any way the procedure can be improved. EHS Hero’s LOTO tool can help save you time by finding, updating, and managing these procedures.